
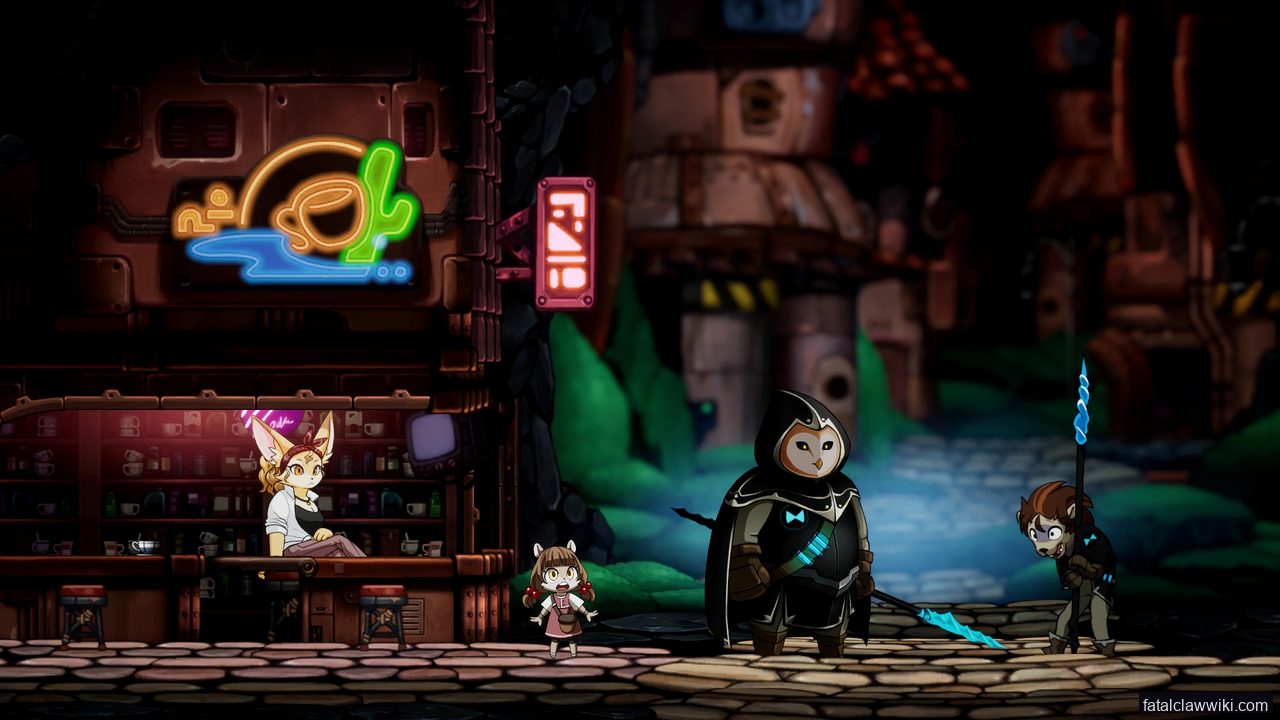
Kannir Belt is the Act 2 connector to the Kannir Sanctuary. You’ll see Sea of Energy puzzles on the way in. Don’t burn your resources on a full clear before you’ve confirmed the Sanctuary entry — there’s nothing here that justifies wasting heals.
Overview
Kannir Belt is route step 7 and one of the clearest mid-game progression landmarks in the content pack. It is tied to the Sea of Energy achievement, and Kannir Sanctuary holds the Second Key of Hope. That gives the area two identities at once: it is an energy-themed region and a sanctuary route with direct story-gate importance.
After Higasha Tundra, Kannir Belt should feel less like a cold boundary and more like a charged corridor toward the game’s seal structure. The content pack lists three sanctuaries tied to keys of hope: Stone Sanctuary, Kannir Sanctuary, and Water Sanctuary. Kannir Belt’s connection to the second key means this region is not optional flavor. It is part of the route logic that moves Kisha from mid-game exploration toward late-game locks.
The atmosphere is likely intense and bright compared with Black Canyon or Aphotic Marsh, but this guide avoids inventing visuals beyond the confirmed Sea of Energy phrase. The route lesson is what matters: if energy is the theme, movement and resource economy probably need to be cleaner. A mistake that was harmless in earlier rooms can become costly when enemies, hazards, and route state are layered together.
How to Reach
Reach Kannir Belt after Higasha Tundra in this route order. The content pack places it in Act 2 and identifies Kannir Sanctuary as the holder of the Second Key of Hope.
The threshold is mid-game progression plus a build that can survive longer commitments. Bring a stable Cabitz setup and understand which Engraved Skill you rely on for counters. Because the pack also notes Kannic consumption guidance in the 1.0.8 hotfix, pay attention to tutorial or item guidance around this stage. If the game is explaining consumption or resource use, it is probably because the upcoming route can punish careless spending.
If Kannir Sanctuary is your target, check whether you have solved any prior seal or key state. The source pack says Ain is involved in three seals and Nia owns one of them, but it does not provide the exact dependency graph. When a sanctuary door refuses to progress, treat it as story-state information before assuming you missed a jump.
Bosses Here
- Ain Boss Guide - Ain is tied to the three seals and is the most relevant boss-page reference for sanctuary progression.
- Sommar Boss Guide - Sommar supports route preparation where the source pack confirms a named boss but not a detailed public pattern card.
- Nagaraja Boss Guide - Nagaraja belongs later, but key and prophecy context makes the guide useful when planning beyond Kannir Belt.
The source pack does not state that these bosses stand inside Kannir Belt. The links are route-relevant boss pages from the confirmed 2B set. Use Ain for seal context, Sommar for mid-route boss readiness, and Nagaraja only when you are thinking ahead toward the late-game prophecy path.
Ability Gates
Kannir Belt’s gates are likely a mix of story state, movement, and resource discipline. The Second Key of Hope context implies that not every blocker is solved by movement. Some gates may wait for sanctuary progress, NPC state, or seal state.
Movement still matters. Dash, air dash, wall climb, glide, Blink, and mutated abilities can all affect room routing. Meditation of Jibanam may matter if the path intersects water-route logic toward the Water Sanctuary later. Silver Chain is not expected until Aphotic Marsh, so mark any late-looking chain or hook route for a future pass rather than trying to brute force it.
Collectibles & Secrets
Kannir Belt is a good place to be methodical because key routes can distract from side pickups. The pack confirms heart pieces, mana pieces, healing pieces, and Carox room pins, but does not list exact Kannir locations. Clear the sanctuary route first if the story demands it, then return for side branches with the map open.
Watch for secrets near energy transitions, sanctuary entrances, and rooms that loop back toward the main path. If the route is pushing you toward a key, designers often place optional pickups near the edges of that pressure. Do not spend all healing just to check a suspicious corner. If the corner requires repeated damage, come back with stronger movement or after opening a shortcut.
Region Order
Kannir Belt is route step 7.
- Previous: Higasha Tundra for frozen mid-game route pressure and the Tenshukaku branch.
- Next: Aphotic Marsh for the 1.0 late-game region, black sludge, and Silver Chain context.
Before leaving, confirm whether Kannir Sanctuary and the Second Key of Hope have changed your route options. That key context can affect later story gates.
Related Pages
- Ain Boss Guide - three-seal story pressure and combat advice.
- Mutated Abilities Guide - route tools for sanctuary and return paths.
- Cabitz Guide - build planning for longer mid-game routes.
- Achievements Guide - Sea of Energy and Second Key of Hope context.
Adjacent Regions & Seals
- Jayma’s Dungeon — Previous Act 2 region before the energy route.
- Isaac Manor — Next Act 2 story location after Kannir Belt.
- Kannir Sanctuary — Second Key of Hope sanctuary inside the Kannir route.
- Aphotic Marsh — Act 3 route after the Act 2 sequence closes.