
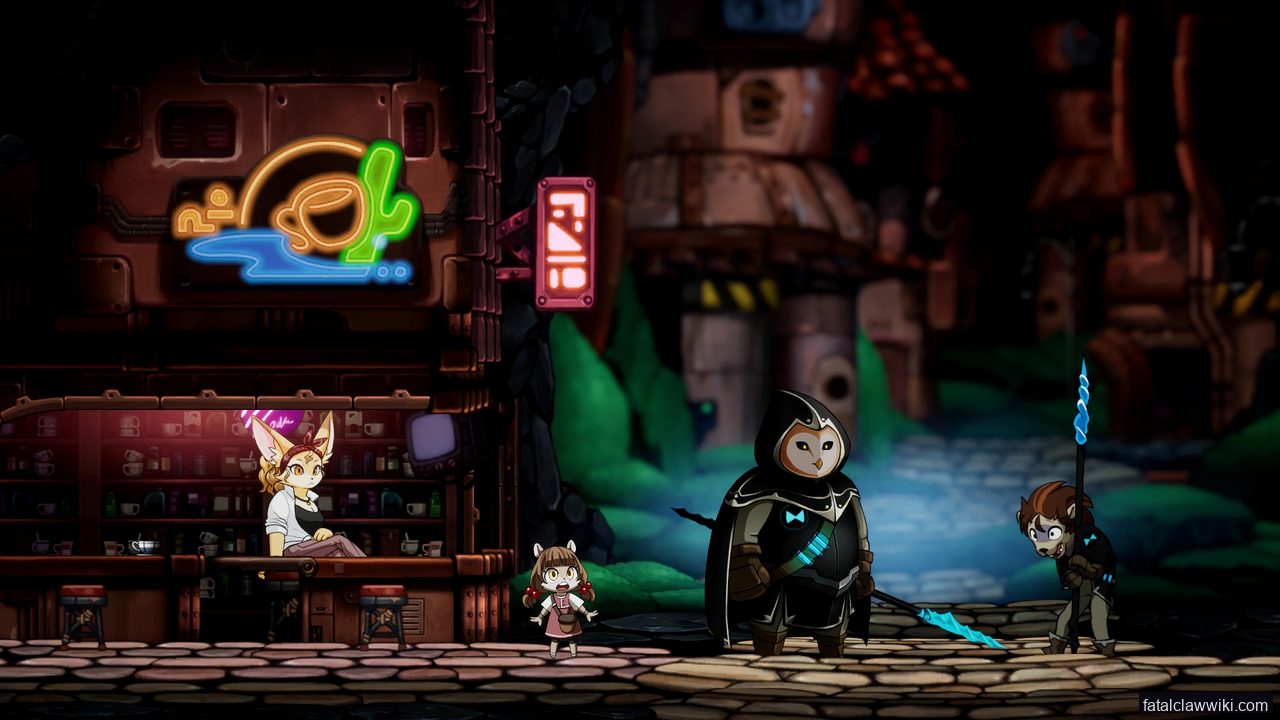
Fatal Claw’s early challenge is not only whether you can press the right button. It is whether you can keep enough health, mana, healing, and map knowledge to turn each failed attempt into information. The source pack confirms separate heart pieces, mana pieces, healing pieces, blue-orb healing, tea, save stones, checkpoints, and Carox map support. That is enough to build strong beginner habits without guessing hidden values.
If you need the first-area route, start with Fatal Claw Getting Started Guide. This page focuses on the resource discipline that keeps Kisha alive after Origin Laboratory opens into larger regions.
Tip 1: Treat Heart, Mana, And Healing As Different Problems
Heart pieces, mana pieces, and healing pieces are separate resource categories in the source pack. Do not mentally combine them into one vague “survivability” bucket. Each one changes a different part of the run.
| Resource | Confirmed Source Pack Role | Beginner Question |
|---|---|---|
| Heart pieces | Increase or support Kisha’s survival pool; Carox can ping them | Am I dying because I skipped exploration? |
| Mana pieces | Support magical or ability pressure | Am I using systems beyond basic Claw attacks? |
| Healing pieces | Separate healing gauge resource | Am I entering rooms with enough recovery available? |
| Blue orbs | Spent to heal and refilled by attacks or tea | Am I earning recovery back during fights? |
The exact upgrade values are not in the source pack, so do not plan around numbers. Plan around gaps in your play. If you survive long enough but cannot finish a fight cleanly, mana and Engraved Skills may matter. If a single mistake ends the attempt, look for heart and healing support.
Tip 2: Save Stones Are Not Healing Refills
The most useful beginner rule is also the easiest to forget: healing blue orbs refill by attacking enemies or drinking tea, not at save points. Stones and benches are rest points, and death can return Kisha to a rest point or checkpoint, but they do not replace good healing discipline.
This means you should sometimes fight small enemies calmly instead of avoiding every encounter. If an enemy is safe enough to Claw down, it can help rebuild the resource that lets you survive the next difficult room. If you skip too many enemies after taking damage, you may arrive at a harder fight with fewer recovery options.
The How to Play Fatal Claw guide explains how Claw, Heal, Engraved Skills, and Blink work together in this loop.
Tip 3: Let Carox Reduce Backtracking Stress
Carox is the Cat Radar Codex and is available from the start. The pack says Carox pins rooms and can help with heart pieces. That makes Carox one of the best beginner tools because it changes backtracking from random wandering into a checklist.
Use Carox whenever you see one of these situations:
- A room has an item-like reward but you cannot reach it.
- A blue barrier or route block appears to require a missing Mutated Ability.
- A region branches in multiple directions and you need to remember what you skipped.
- You return after Blink, Lyani’s Claws, glide, wall climb, or Silver Chain changes your options.
Fatal Claw has fourteen confirmed main region steps in the source pack. You will not remember every gate by memory alone. Let Carox do some of that work.
Tip 4: Use Difficulty And Accessibility Settings Without Shame
The source pack lists Easy, Normal, and Hard labels, per-category accessibility sliders, and in-game pause menu Difficulty and Accessibility settings. It also says achievements still exist on all difficulties, with no Hard-only trophies identified there.
That matters for beginners because Fatal Claw’s difficulty is not just damage. It can be route confusion, late-game spike pressure, boss timing, sound-design complaints, or trouble reading a movement chain. If a setting helps you learn the map, keep the run moving, and engage with the systems, it is part of the supported game surface described in the pack.
The Fatal Claw Controls Guide is useful if the problem feels like inputs rather than strategy.
Tip 5: Backtrack After Movement Tools, Not Every Minute
The confirmed movement tool list includes Dash, air dash, wall climb, glide, Lyani’s Claws, Blink, and Silver Chain. The pack also notes that glide can grab walls while gliding after player feedback. Because tools arrive over time, backtracking is productive only when your options have changed.
Do not return to every locked edge after every room. Instead, backtrack after a clear unlock, boss milestone, or route transition. Lower Moss Cave has water-related Jibanam content, Strigine Quarry has wind updrafts, Black Canyon points toward darkness and Imprint School, and Elord Castle becomes a major hub. Each region teaches you which old blockers now deserve attention.
For a full recommended region sequence, use the Fatal Claw Walkthrough.
Tip 6: Read Death As Route Feedback
Death returns Kisha to the last rest or checkpoint. That penalty can feel harsh, but it also tells you what was missing. If you die with full healing, you may need to spend recovery earlier. If you die with no blue orbs, you may be healing too often or failing to rebuild through attacks. If you die at an obstacle, you may be at an ability gate rather than a skill wall.
Keep the question practical: what resource was empty, what tool was unused, and what room should Carox remind you to revisit later?
Related Guides
- Fatal Claw Getting Started Guide - first-session route priorities in Origin Laboratory.
- How to Play Fatal Claw - combat verbs and recovery timing.
- Fatal Claw Walkthrough - region order and backtracking cues.
- Fatal Claw Ability System Explained - movement tools, upgrades, and ability categories.
- Fatal Claw Achievements Guide — Early habits reduce cleanup friction later.
- Fatal Claw Cabitz Builds — Turn resource advice into practical loadout roles.
- Fatal Claw Endings Explained — Explains why postgame cycles change cleanup priorities.
- Fatal Claw on Steam Deck — Short-session habits for handheld play.